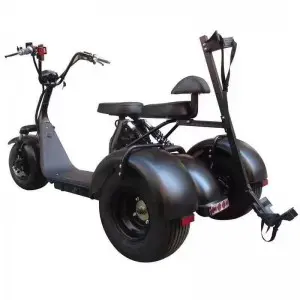
Welcome Citycoco enthusiasts to our comprehensive guide on how to program a Citycoco controller! Whether you’re a beginner or an experienced rider, knowing how to program the Citycoco controller unlocks endless possibilities, allowing you to customize your ride and enhance your e-scooter experience. In this blog, we’ll walk you through step-by-step instructions to ensure you have a complete understanding of programming the Citycoco controller. Let’s dive in!
Step 1: Familiarize yourself with Citycoco controller basics
Before we start programming, let’s quickly familiarize ourselves with the Citycoco controller. The Citycoco controller is the brain of the electric scooter, responsible for controlling the motor, throttle, battery and other electrical components. Understanding its main features and functions will help you program effectively.
Step 2: Programming Tools and Software
To start programming the Citycoco controller, you will need specific tools and software. To establish a connection between the computer and the controller, a USB to TTL converter and a compatible programming cable are required. Additionally, installing the appropriate software (such as STM32CubeProgrammer) is crucial to the programming process.
Step 3: Connect the controller to your computer
Once you have gathered the necessary tools and software, it’s time to connect the Citycoco controller to your computer. Before proceeding, make sure your electric scooter is turned off. Use the programming cable to connect the USB to TTL converter to the controller and computer. This connection establishes communication between the two devices.
Step 4: Access Programming Software
After the physical connection is established, you can start the STM32CubeProgrammer software. This software allows you to read, modify and write the settings of the Citycoco controller. After launching the software, navigate to the appropriate option that allows you to connect the software to the controller.
Step 5: Understand and modify controller settings
Now that you have successfully connected your controller to your programming software, it’s time to dive into the different settings and parameters that can be modified. Each setting must be clearly understood before making any changes. Some of the parameters you can modify include motor power, speed limit, acceleration level, and battery management.
Step 6: Write and save your custom settings
After making the required modifications to the Citycoco controller settings, it is time to write and save the changes. Double check the values you enter to ensure accuracy. When you are confident about your modifications, click the appropriate option to write the settings to the controller. The software will then save your customized settings.
Congratulations! You’ve successfully learned how to program the Citycoco controller, taking your electric scooter experience to a whole new level of customization and personalization. Remember, try it carefully and adjust settings gradually to ensure the best performance and security of Citycoco. We hope this comprehensive guide provides you with the necessary knowledge and confidence to start your programming journey. Happy riding with your newly programmed Citycoco controller!
Post time: Oct-16-2023


